Home Decor, Outdoors
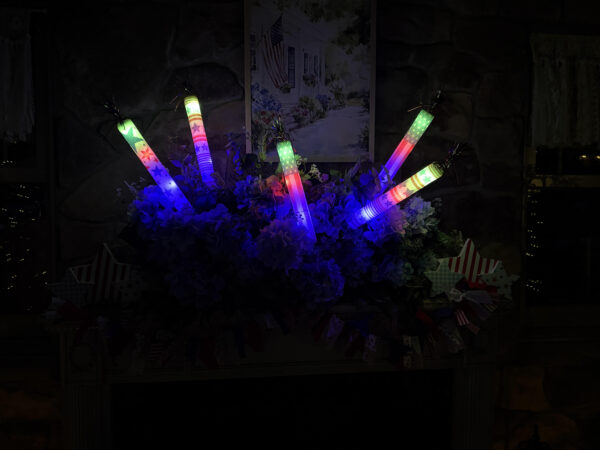
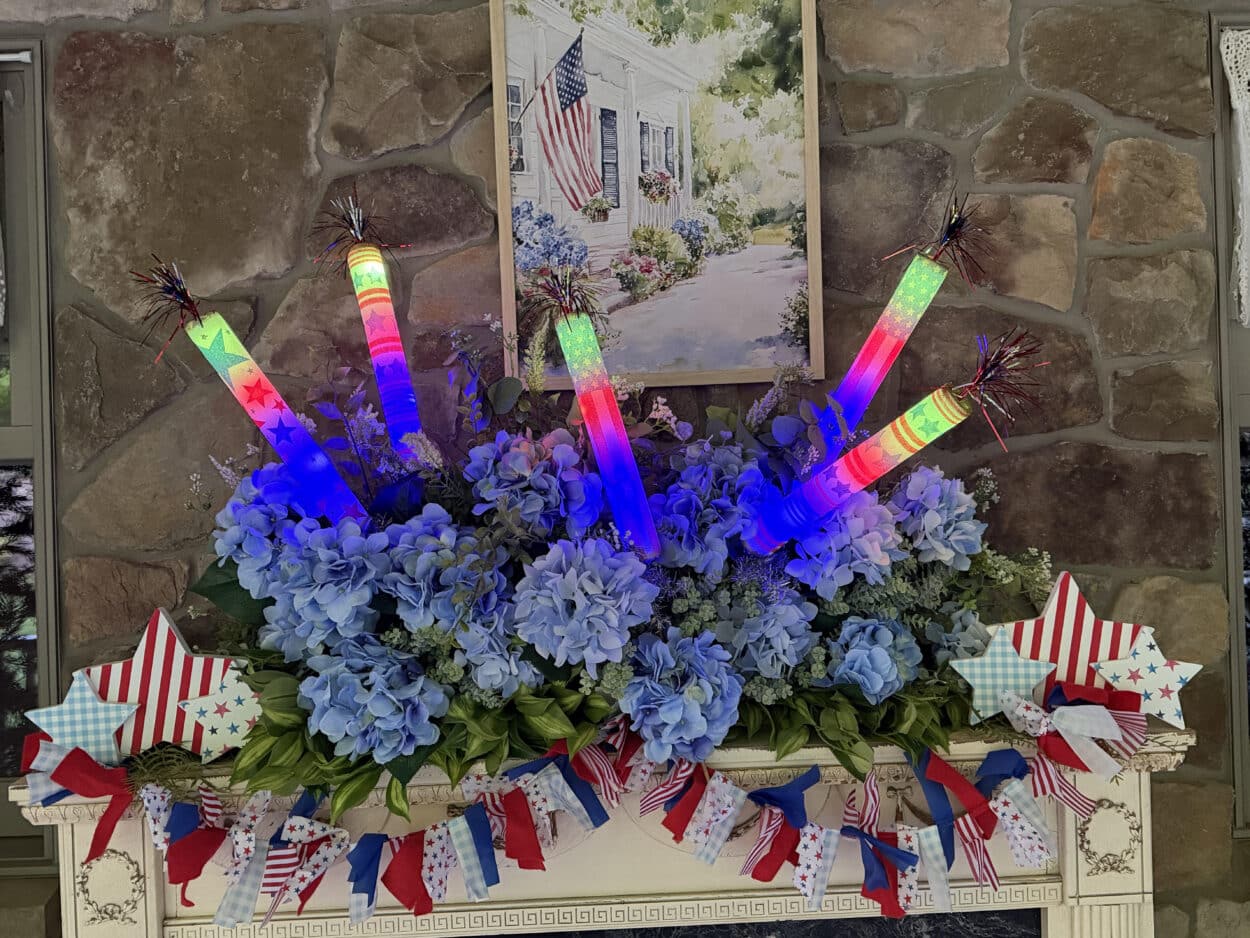
Light Up Firecrackers
07
Jun
Jun
I hope everyone is enjoying their summer! We are finally getting warm weather here in Pennsylvania; I hope it stays. I was shopping in Hobby Lobby and came across light-up foam sticks in the party section and firecrackers popped right in my head. This project is so simple and inexpensive; I hope you give them a try!
Materials I Used
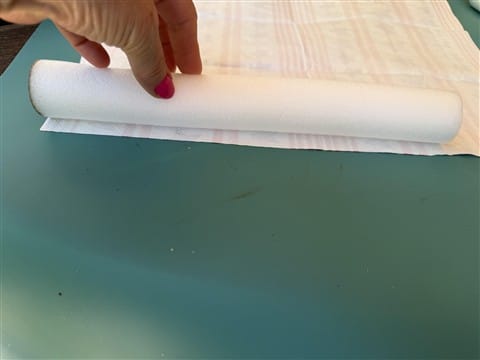
- LED light-up foam sticks, Hobby Lobby #2611069
- Patriotic napkins, the guest size works best
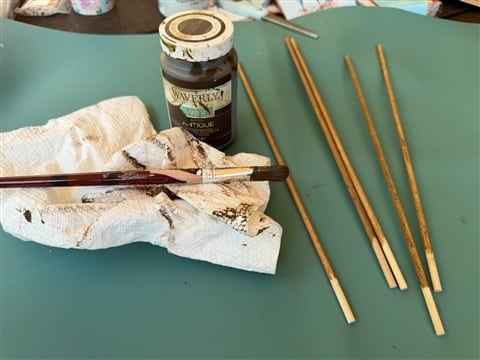
- Five 3/16 dowels
- 4th of July cupcake picks
- Silver tinsel garland, I have it in my shop if you need it.
- Mod Podge
- Waverly Antiquing wax
- 4ply Jute
- Gold Rub ‘n Buff and applicator
- Paint Brushes
- Scissors
- Hot glue gun and glue sticks
- Ruler
- Paper towels
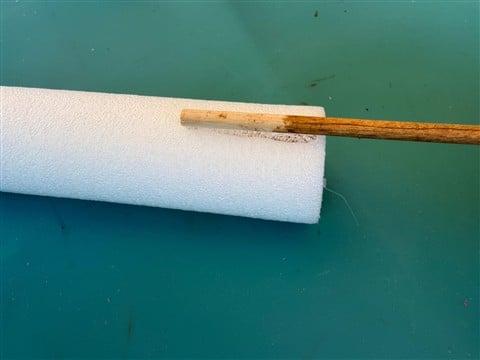
Staining the dowels
To stain the dowels apply the Waverly antiquing wax with a paintbrush then wipe off with paper towels. Leave about an inch unstained at one end. Set them aside.

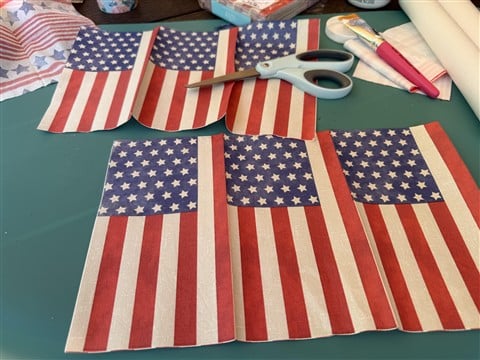
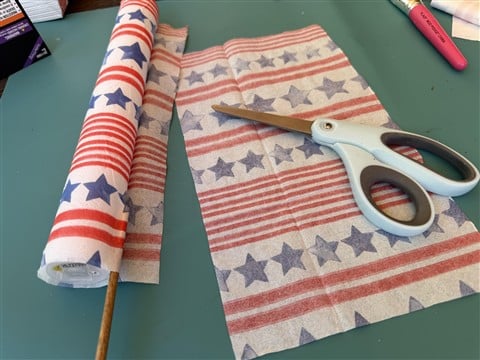
Preparing the napkins
The guest napkin size is best for covering the foam sticks. I tried both lunch and dinner and neither worked. If they are all just one continuous print you might be able to use them. If your guest napkin is one continuous print lay the foam stick onto the opened napkin leaving a little overhang at the top. Trim the excess from the bottom of the napkin leaving a small overhang. Remove the extra napkin layers from the back.


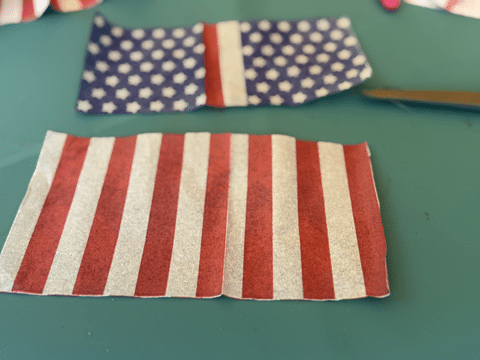
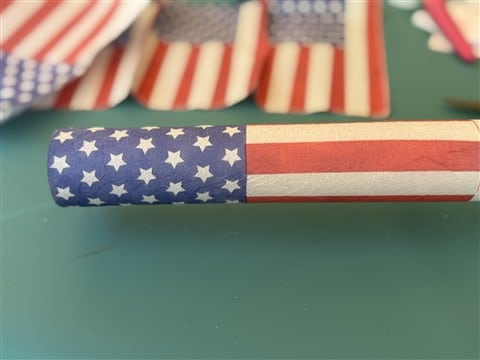
If you are using a napkin with a single print on both the top and bottom (like the flag in the photo below), you will need to cut the napkin in half.
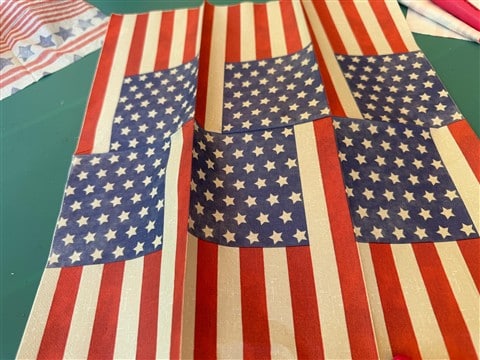
I used this flag napkin. On the other half, I cut off the top section with stars so I could use the strips to line up and cover the bottom section of the foam stick. Remove the back layers from both napkins.
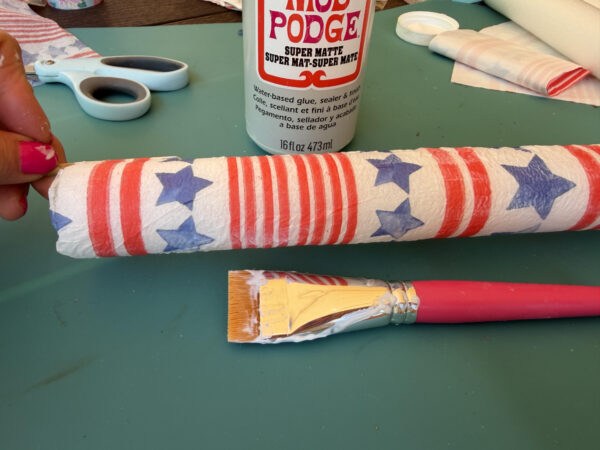
Applying the napkins
Before you start to mod podge the napkins apply hot glue to the end of the dowel that is unstained and attach to the bottom of the foam stick.

Next if you are using the continuous print napkin apply mod pode onto the dowel and also both sides of the dowel on the foam. Then, apply mod podge up to the top of the foam stick. It is best to work in sections around the foam stick. Starting at the bottom lay your napkin over the dowel and then up the foam stick. Lightly smooth out the napkin.


Continue adding mod podge a section at a time and attaching the napkin until you reach your starting point. Trim off any excess napkin, also trim any excess from the top and bottom. Let the mod podge dry, then apply a top coat over the entire napkin.


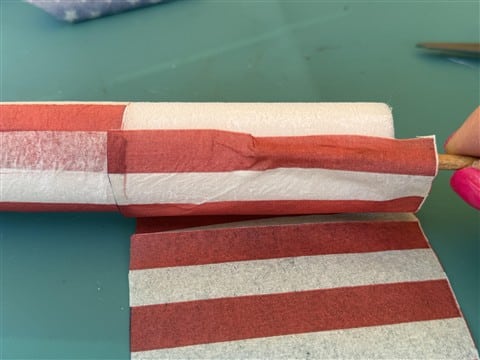
If you are using the top and bottom halves of a napkin after attaching the dowel, start applying Mod Podge from the top down to where the napkin will end. Start on the side with the dowel because you will place the bottom napkin over the dowel and need to line the napkins up. Attach the napkin leaving a small overhang at the top then smooth out the napkin. Work in small sections around the foam stick until you reach your starting point. Cut off any excess napkin. Also cut off any excess napkin from the top.

Apply mod podge over the dowel and both sides, working upwards until you reach the napkin you just attached. Lay the side of the napkin over the dowel lining up the bottom napkin with the top napkin. Smooth out the napkin. Continue working your way around until you reach the starting point. Trim off any excess from the side and bottom. After the mod podge has dried apply a top coat of mod podge over the napkin.

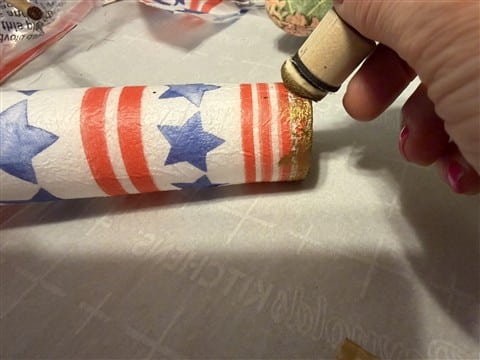
Adding the rub ‘n buff and topper
There is a removable center at the top of the foam stick. Remove the center. Then, using a sponge applicator apply the rub ‘n buff to the top of the center, followed by the top edges of the foam stick. Apply rug ‘n buff around the top and bottom edges of the napkin.

Next take two of the cupcake toppers, hold them together, and push them down through the center foam piece. Replace the center foam piece back into the top. The photo below only shows one but I thought it looked too sparse, so I added a second cupcake topper.

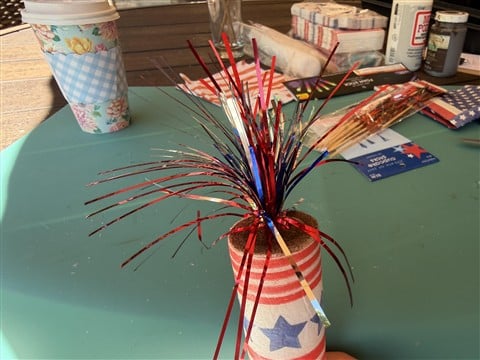
Can you see the difference between the one and two cake toppers?
Adding the wick and tinsel
Measure and cut a 3″ piece of 4ply jute. Measure and cut two 8″ pieces of tinsel. Add hot glue to the backside of the dowel just under the foam stick then attach the piece of jute.


Tie the two pieces of tinsel around the dowel at the bottom of the rocket. These are the flames after lighting the rocket lol.

You will repeat all the steps you just completed for the other 4 rockets.
I hope you enjoy making and using the light up rockets in your Americana decor. You turn the rockets on and off using the button at the bottom of the rocket.