06
Aug
Aug
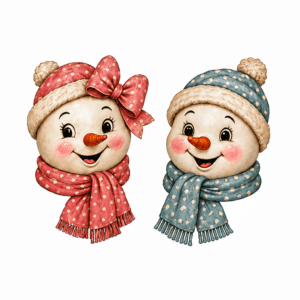
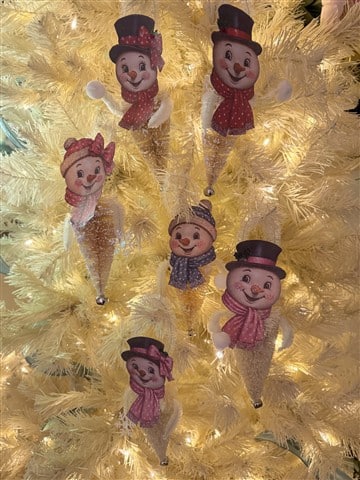
I recently saw a photo of a cute snowman face attached to a bottlebrush tree and made into an ornament but there were no directions or information on where to get the snowman head printouts so I designed my own and I think they came out adorable! These cuties will be my ornaments for the grandchildren this year. I used cream bottlebrush trees but you can use any color you would like.
Materials I Used
- snowman heads printout
- Heavy weight cardstock
- Chenille bump pipe cleaner for arms
- Mod Podge super matte, you can use any mod podge you would like
- 15mm pipe cleaner for hanger
- .75 white pom poms for snowballs
- Stickels this is optional but I love to add a little sparkle to my projects! I used the colors copper, Christmas red, holly, and glisten
- Scissors
- Paintbrush
- Wire cutters
- Hot glue gun and glue sticks
Step 1
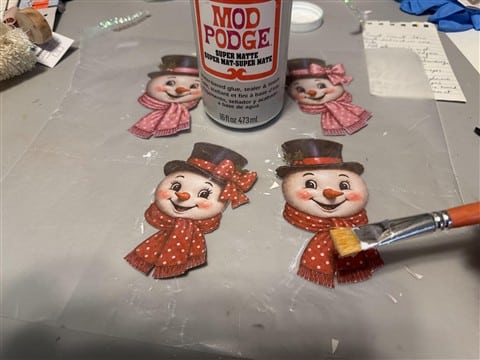
Print out the snowman heads on your computer then cut off most of the extra paper. In the photo below you can see the one on the right. I completely cut it out, but then realized that was a waste of time because I am going to Mod Podge it onto heavy cardstock and would then have to cut it out a second time lol.
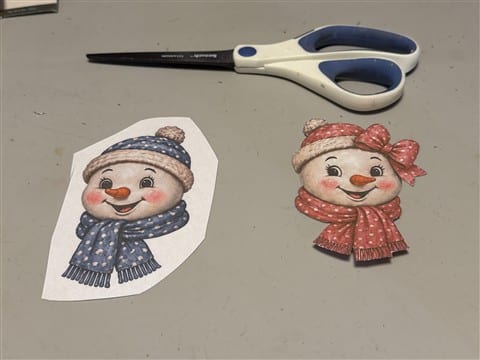
Apply Mod Podge to the backs of your snowman heads and attach them to the heavy weight cardstock. Cut out the snowman heads using scissors.


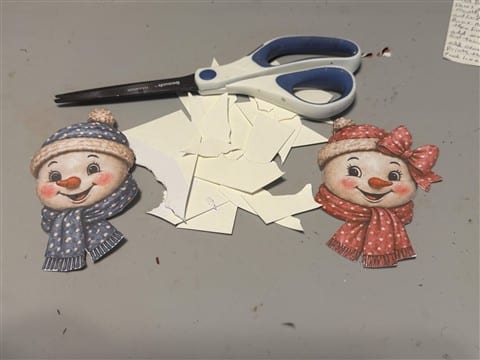
Apply a coat of Mod Podge to the fronts of the snowman heads.
Step 2
Twist and pull the wooden piece from the bottom of the tree.
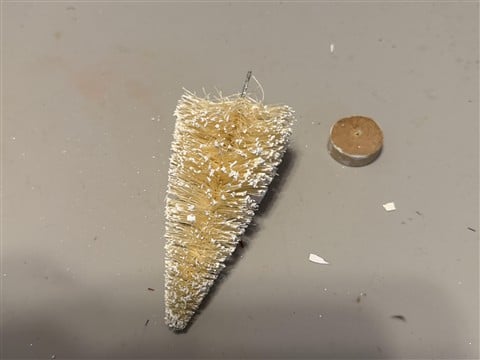
Holding the tree upside down push down some of the bristles on one side of the tree. Place your snowman head so the scarf is against the tree. Check to make sure you have enough bristles pushed down so the snowman head lays relatively flat.

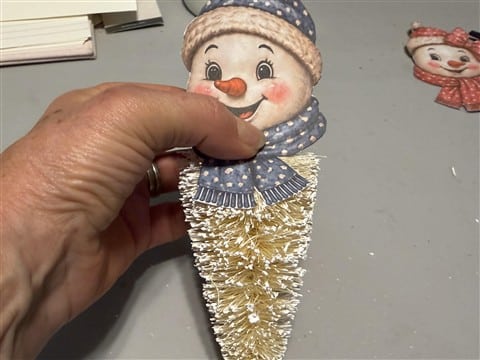
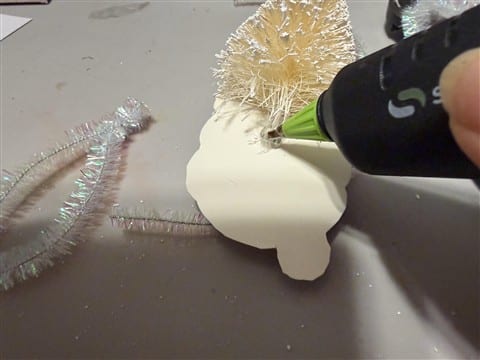
Apply hot glue down the center of the scarf’s backside and attach it to the bottlebrush tree.

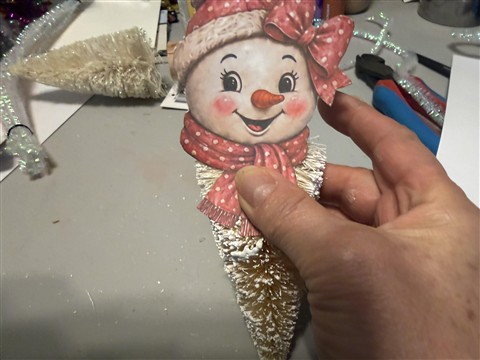
Cut a 9″ piece of pipe cleaner and twist the two ends together. Apply hot glue on top of the wire piece of the tree and attach the twisted end of the pipe cleaner. Sorry I forgot to take the photo of attaching the pipe cleanerThis is your hanger.

Step 3
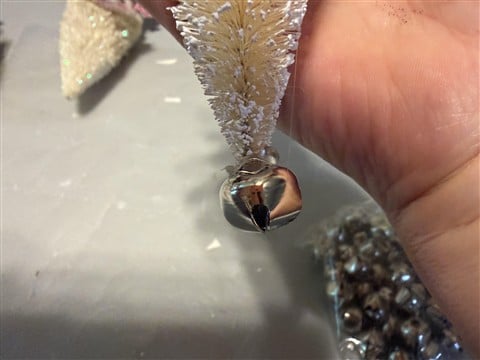
Apply a small amount of hot glue to one side of the bell’s hanger part. Attach it to the tip of the tree, positioning the bell’s hanger at the back of the tree.

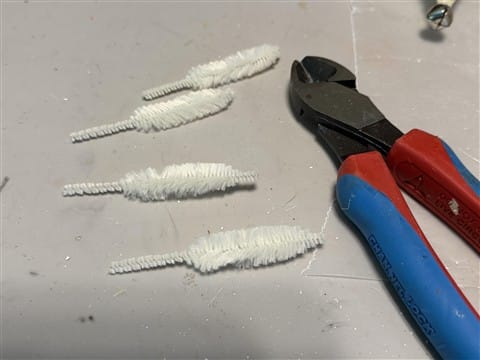
To make the arms, cut two bumps from the pipe cleaner leaving the flat part of the pipe cleaner attached to each bump. This may sound confusing, but you will see what I mean in the photo below. You should get 4 arms from one bump chenille pipe cleaner.
Insert the flat piece into the side of the tree where you feel the arm should be. Repeat with a second piece on the other side.
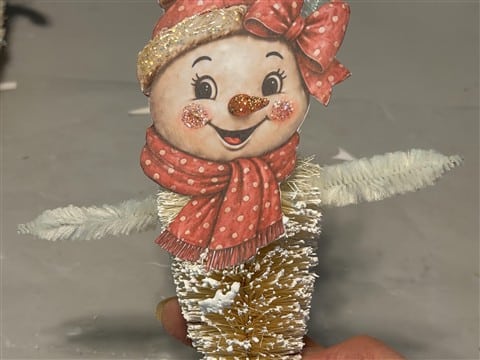
Remove one arm and hold the bristles of the tree apart. Add hot glue to the flat end of the arm and place it back into the tree. Repeat this step to the second arm.You can now bend the arms into your desired shape.


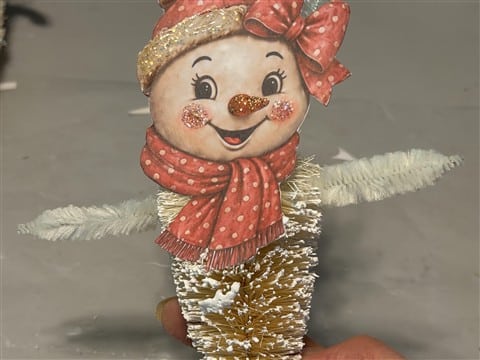
To add a white pom pom as a snowball to his hand, add a drop of hot glue to the end of the hand, then attach the pom pom. I also added a snowflake on some instead of a snowballan head printouts


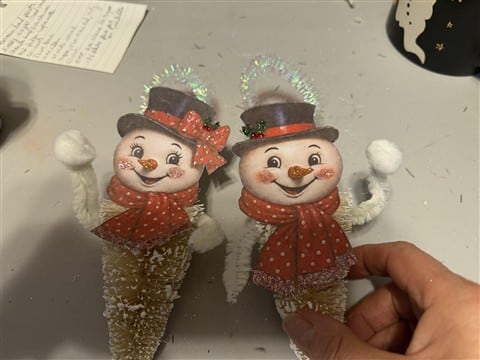
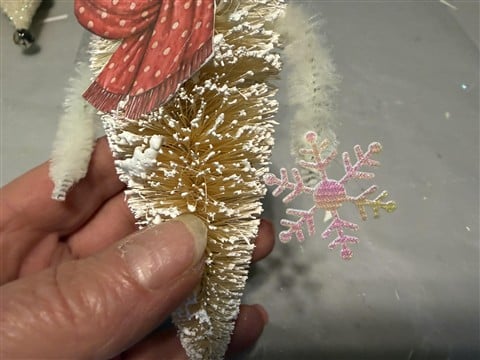
Step 4
Time to add a little sparkle!! I just love using stickle instead of glitter! I applied the copper color to his nose. I do not apply a thick layer because I still like to see a little of the original color. I applied the color glisten to the cheeks and the fringe on the scarf. If you are making the snowman with the beanie hat I also applied the glisten to the trim and ball of the hat.
If you are making the snowman with the top hat, apply the color holly to the holly leaves and Christmas red to the berries.


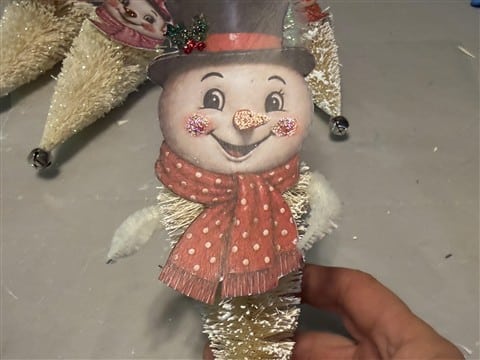
You finished with your adorable bottlebrush tree snowman ornaments. I hope you enjoy making them. This adorable snowman would be a great gift or use a gift tag!