17
Sep
Sep
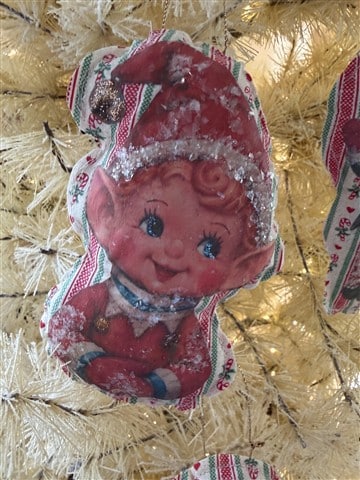
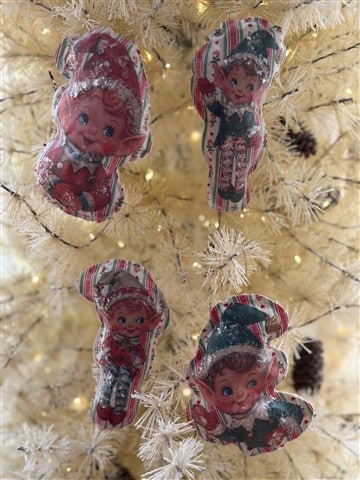
If you follow me on Facebook you already know that I just love vintage pixies! I do a whole tree decorated with them at Christmas. One of my followers sent me a photo of some pixie ornaments she saw on Facebook and as soon as I saw the photo I knew I had to make some for my tree. I came up with some pixie printables you will be able to print and use to make these adorable pixie ornaments. I hope you give these adorable pixie ornaments a try!
Materials I Used
- Pixie printable
- Fabric of your choice
- Super matt mod podge, you can also use regular mod podge
- Polyester fiberfill
- Straight pins
- Scissors
- Xacto knife
- Paintbrush’s
- Mica flakes
- 1mm metallic cording and a sewing needle; I used a rose gold color for my hanger
- Stickeles in the color copper or mercury glass, and ice blue
- Hot glue gun (if you plan to glue the ornaments together)
- Sewing machine (if you plan to sew the ornaments together)
Step 1
Print out the pixie elf sheets then cut them out using scissors. I also used an xacto knife to cut the white paper out from between their legs and between the arm and face of one of the pixies.

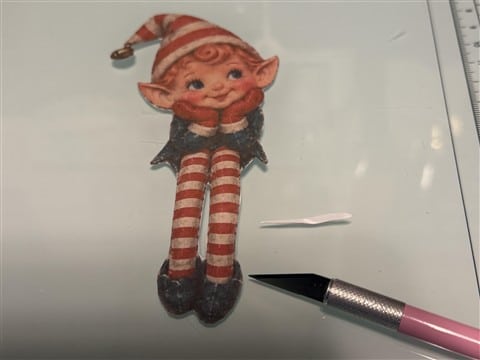
Next place one of the pixies onto a double layer of fabric and cut out a square leaving about 2″ or so all around the pixie. Repeat this process for each pixie elf.
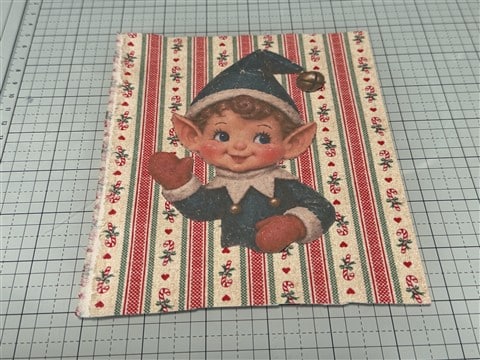
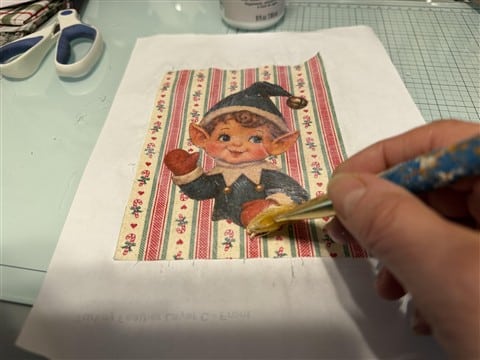
Remove the paper pixie from the fabric then separate your two pieces of fabric. Lay one piece of fabric down print side up, and apply a coat of mod podge to the entire piece of fabric. Work the mod pod into the fabric.Next, carefully adhere the pixie to the center of the fabric. Apply a thin layer of mod podge over the pixie making sure to cover the edges all around the pixie. Set aside to dry completely. Repeat these steps for each pixie elf ornament you plan to make.


Step 2
Now that the fabric has dried, place your two fabric pieces back together and pin the sides. Using scissors cut around the pixie leaving about 1″ to 1 1/2″ inches of fabric surrounding the pixie.
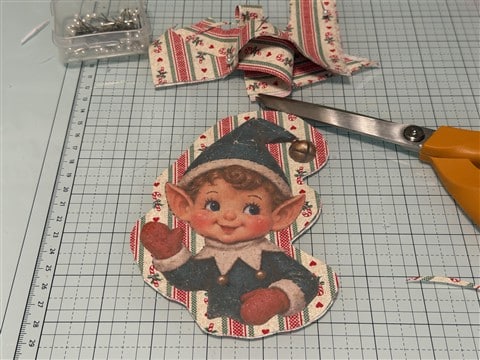
If you plan to use hot glue for assembly, fold down the top layer of fabric about halfway. Then, apply a line of hot glue around the top edge of the bottom piece of fabric and attach the top piece. Work your way down each side of the pixie until you reach the bottom. When you reach the bottom add hot glue to each side leaving an opening in the middle.
Don’t mind the hanger already attached in the photos; I decided to attach the hanger after we make the ornament.


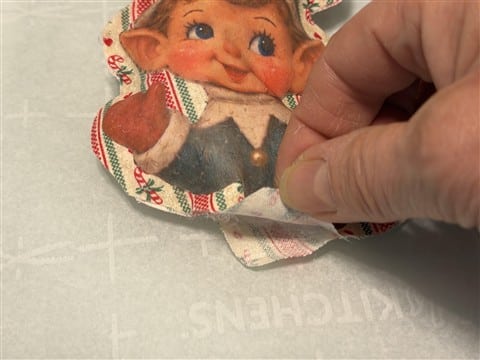
Using polyester fiberfill lightly stuff the ornament. Hot glue the bottom closed.

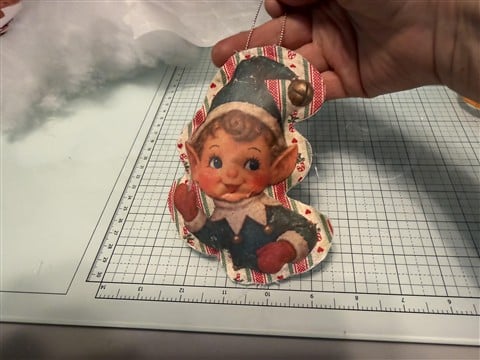
If you are like me and would rather sew, line up and pin the two pieces of fabric together after cutting out the pixie. Sew around the ornament leaving an opening in the bottom middle.

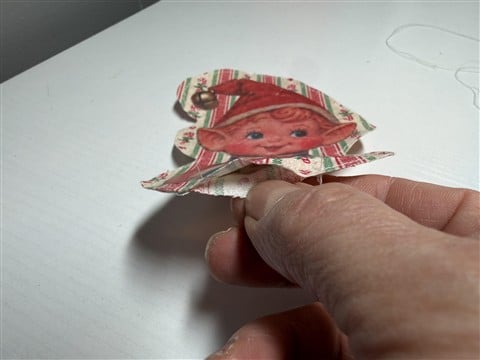
Lightly stuff the ornament with polyester fiberfill. You can either machine sew the bottom closed or hand sew close.
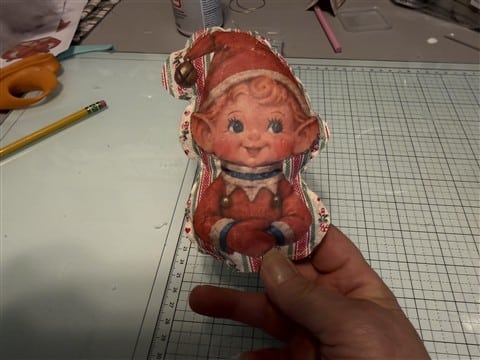
Step 3
Time to add the hanger! Thread a needle with 1mm cording of your choice then run the needle through the back layer of fabric as shown.
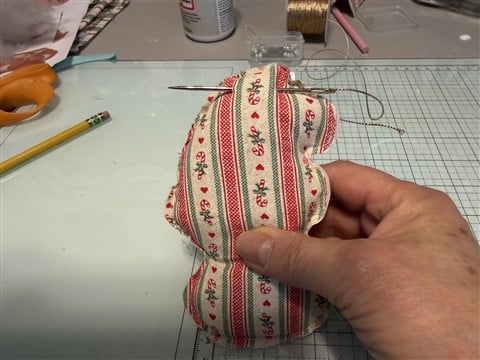
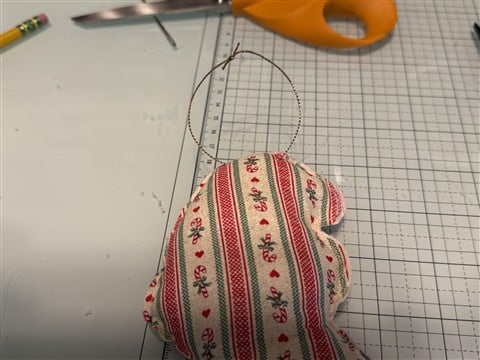
Decide how long you want your hanger then tie a double knot and trim off the excess cording.
I wanted to give my pixie ornaments a little sparkle! I brushed on a little mod podge where I wanted and then added the mica flakes. I used stickeles in the color copper over the bell on the hat and the bells around the collar, Mercury glass is also a good color for the bells. I also used the color ice blue to add a little sparkle to the eyes!


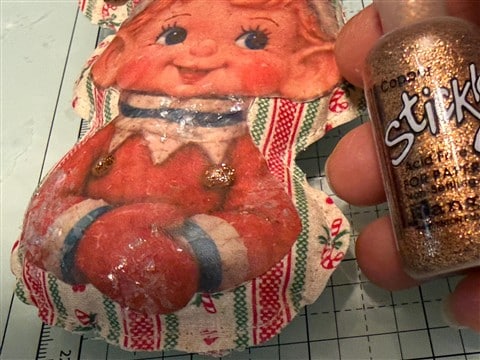
I hope you find these pixie elf ornaments as adorable as I do and give them a try. They are very easy to make and would make a great gift or you can use them as hang tags on Christmas presents! Can you see the sparkle in the pixies’ eyes?