Home Decor, Ornaments
DIY Embroidery Hoop Art
Jun
When I made my Lantern from the Dollar Tree 8×10 stretched canvas I had the canvas left over so I knew I needed to do something with them, I had bought a beautiful bird fabric from Joann’s and also adorable from Amazon so I thought I would Mod Podge them onto the canvas and use embroidery hoops to frame them I just love how they came out and the possibilities are endless.
Here is a list of what you will need:
- 8” Embroider Hoop
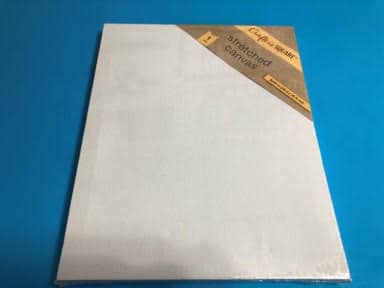
- 8×10 Stretch Canvas from Dollar Tree
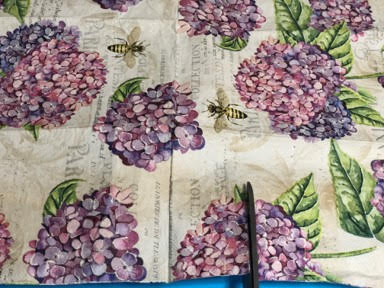
- Napkin or Fabric
- Mod Podge
- Paintbrushes
- Stain or Craft Paint (Optional)
- Fine Grit Sandpaper
- Ribbon for Trim
- Scissors
- Hot Glue Gun and Glue Sticks
- Flathead Screwdriver
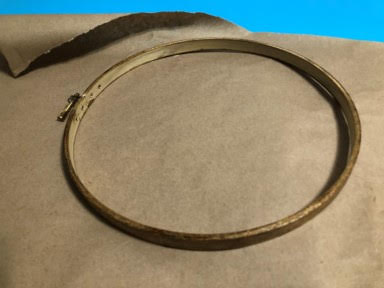
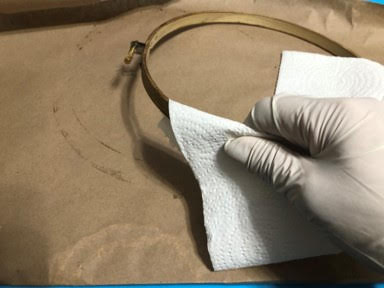
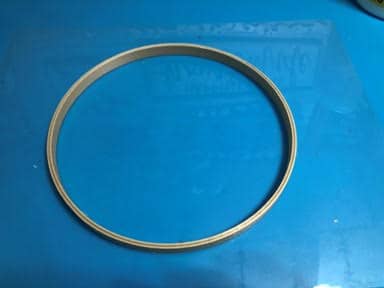
Staining or Painting The Embroidery Hoop
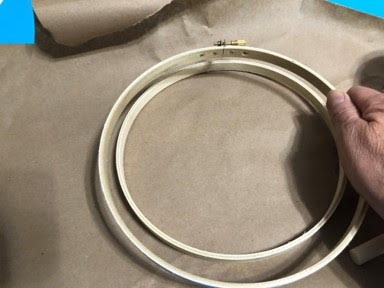
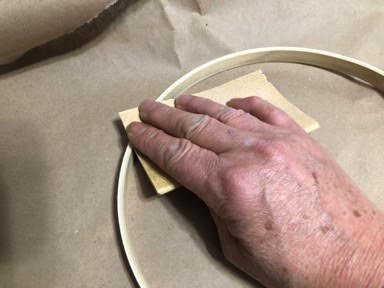
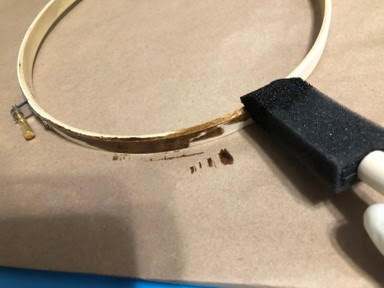
This step is optional I didn’t want to leave the outer embroidery ring natural, I chose to us a golden oak, stain you can stain, paint or leave natural I will leave that up to you. The first step is to remove the other ring, then lightly sand the outside of the ring and the edges, next if you are staining I used a foam brush to apply the stain to the outside and the rims of the embroidery hoop, let set for about 3 to 5 minutes then using a rag or paper towel wipe of the excess stain and let dry. To paint sand as instructed , then using a paintbrush paint the outside of the embroidery hoop and also the rims, let dry you can apply a second coat if needed.
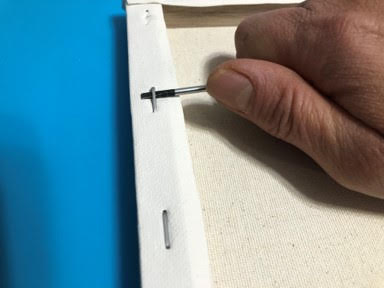
Prepare The Canvas
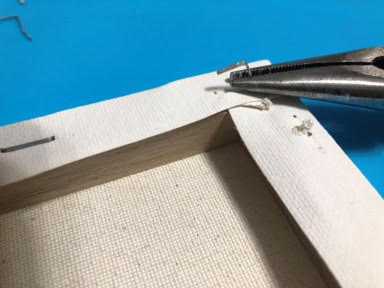
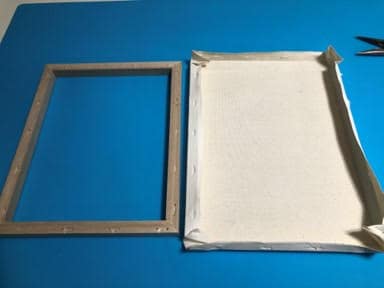
Take your 8×10 stretched canvas and lay down with the back facing up, using a flathead screwdriver remove the staples if some of the staples do not come all the way out you can use the needle nose pliers to remove them. Once you have removed all the stables you can remove the canvas from the frame, save the frame for another project I used the frames to make a lantern you can see how in my blog post for DIY Lantern.
Mod Podge Your Napkin or Fabric
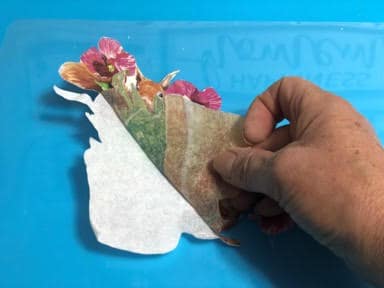
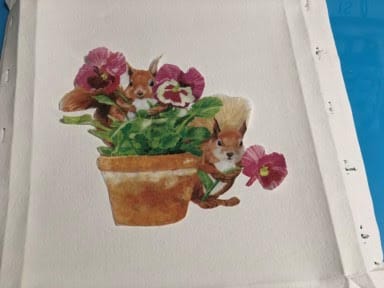
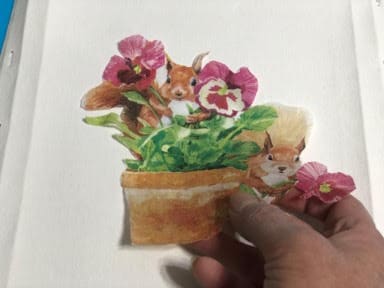
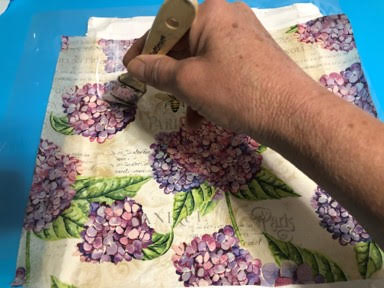
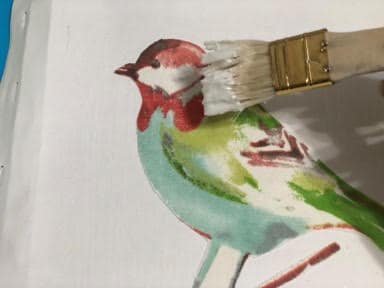
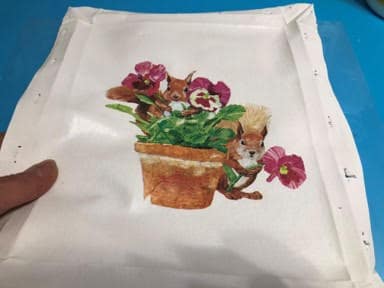
There are three ways I have made the embroidery hoops I will explain all three. If you would like to use a scene from a napkin I cut it out because my napkin was all white with the scene in the middle so I thought I could just mod podge the whole napkin onto the canvas but I didn’t like how you saw the end of the napkin so I cut the scene out of the napkin, it doesn’t have to be perfect you can have some of the white showing. Once you cut the scene out remove the back part or parts of the napkin then place in the middle of the canvas to see where you will have to add the mod podge, remove the napkin, using a paintbrush add the mod podge to the area your napkin is going to be placed, then place your napkin scene on top of the mod podge slowly, using your fingers to smooth out as you go, let dry. Once the mod podge has dried apply another coat but this time cover the whole canvas and let dry. See photo’s below.

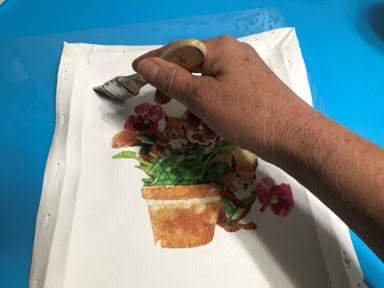
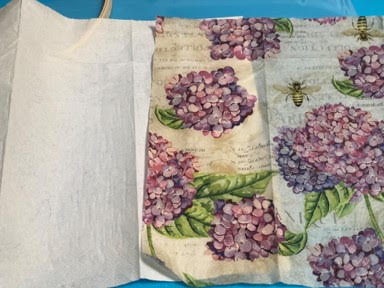
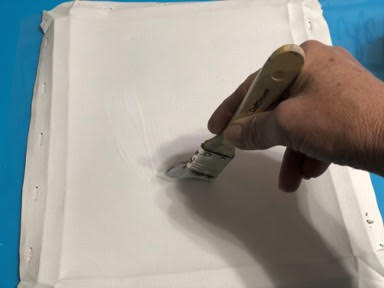
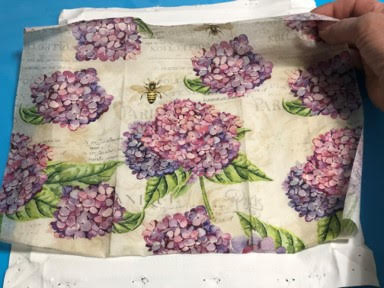
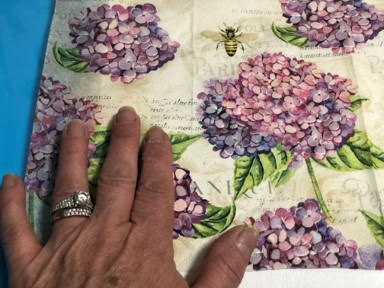
If you would like to use a napkin that is all print the first step is to open up the napkin and lay on top of the canvas, next decide what part of the napkin you would like to be in the embroidery hoop, this would be in the middle of the canvas, then cut off any excess napkin around the canvas. Next remove the back part or parts of the napkin then apply a coating of mod podge to the whole canvas. Once you have applied the mod podge starting with one end of the napkin lay on top of the mod podge and using your fingers smooth out the napkin so you won’t have wrinkles, let dry. After the mod podge has dried apply a second coat of mod podge and let dry. See Photo’s below.
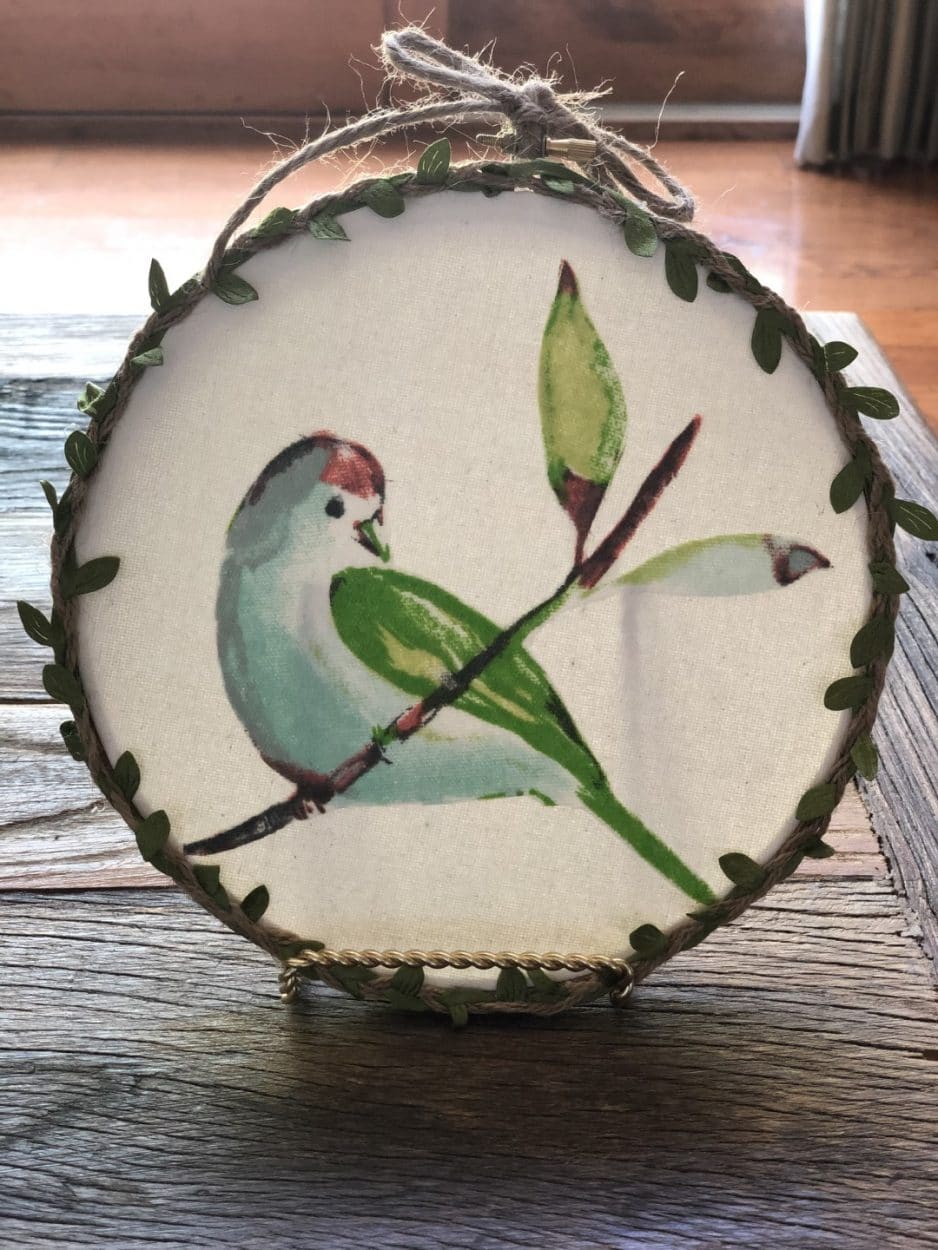
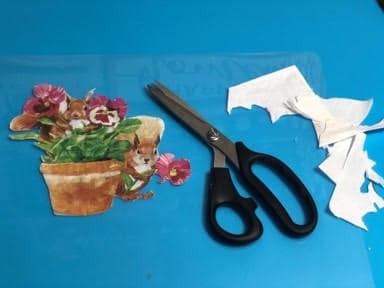
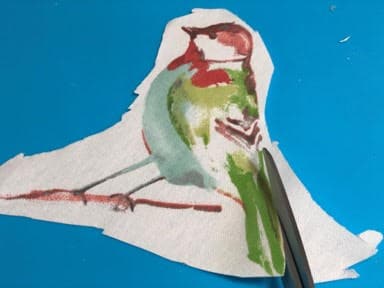
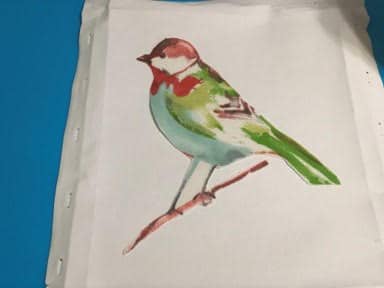
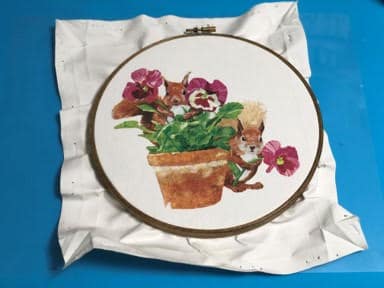
If you would like to cut a scene from fabric it would be the same instructions as cutting a scene from the napkin, you can see in the photo’s below I cut a bird from fabric. If you want to use the whole print of a fabric you will only need to follow the instructions below on adding the canvas and trim.
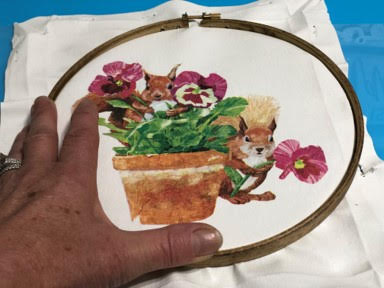
Adding The Canvas and Trim
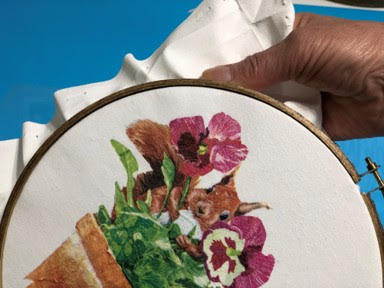
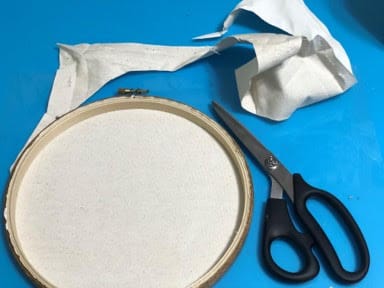
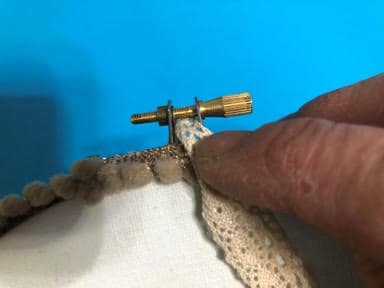
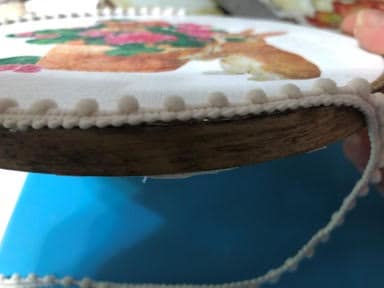
To add your canvas or printed fabric to the embroidery hoop lay the canvas or fabric on top of the inner embroidery hoop making sure your scene is in the center of the hoop now take the outer embroidery hoop and place over the canvas pushing down around the whole hoop, you may need to loosen the screw on top to make it fit over the inner hoop. Once you have gotten the outer hoop on tighten the screw slightly and pull on the canvas all the way around the hoop to make sure the canvas is tight and nice and flat, once your canvas is nice and flat tighten the screw good. Next turn the hoop over and using your scissors trim off the excess canvas. See photo’s below.

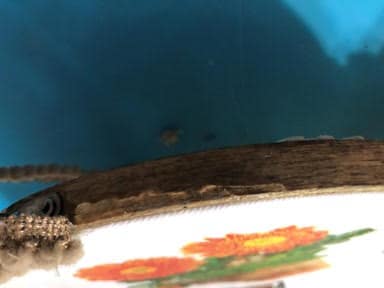
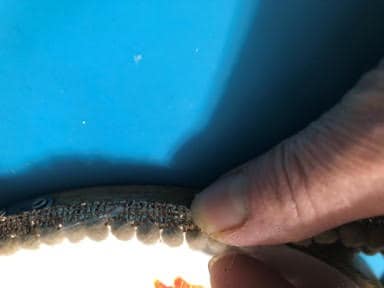
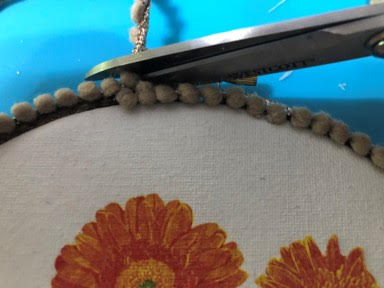
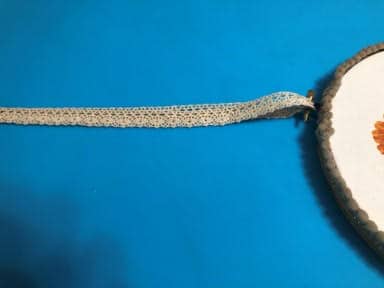
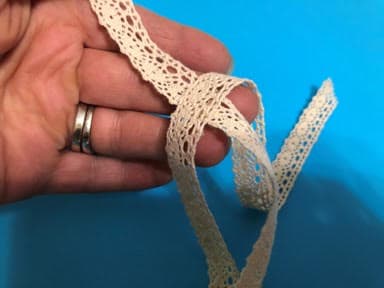
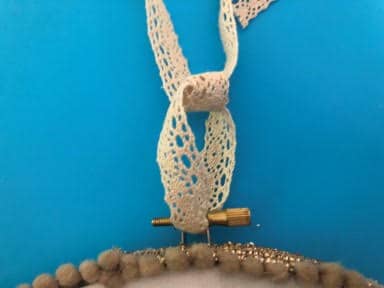
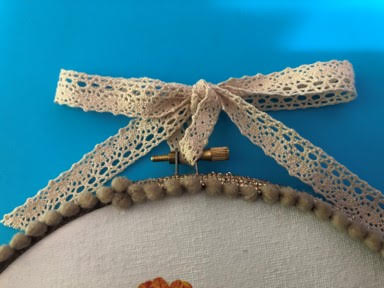
When adding the hot glue to embroidery rim for the trim it is going depend on how wide your ribbon is to where you are going to add the hot glue, in the photo’s below I added the hot glue to the top of the outer rim then attached my ribbon because my ribbon was ½” wide but on the others I made I added the hot glue to the top of the rim because my ribbon was very thin I hope this makes sense, I would hold your ribbon in both places to see where the ribbon is going to look best. Once you have decided where you would like to attach the ribbon add a small line of hot glue and attach the ribbon working your way around the hoop, when you reach the beginning of the attached ribbon cut the ribbon. If you would like to add a hanger to your embroidery hoop cut a 12” piece of ribbon slide one end of the ribbon through the space under the screw bring both ends together to make them even then tie as if you were tying a shoe leaving about an 1 ½” hoop at the bottom, you can tie just a bow if you do not want a hoop for hanging.
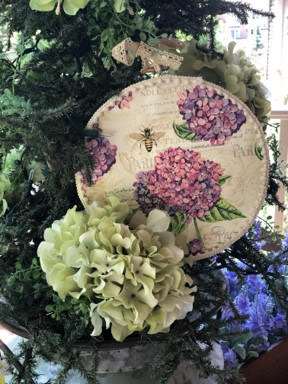
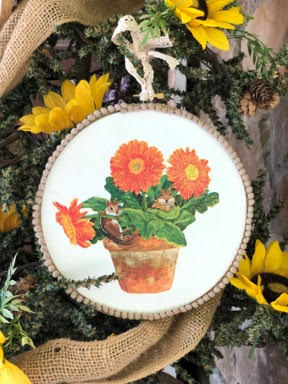
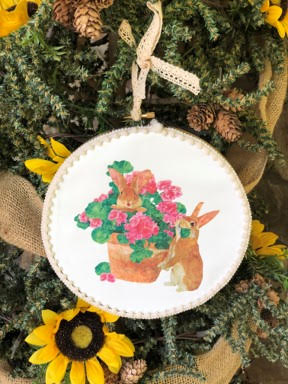
Here at The Crafty Decorator I want to inspire you to create the items you would like to decorate your home with, I hope you will give this a try there is so not many different prints and fabrics you can use and if you want a change you do not have to make a whole new hoop you just have to create a new insert, remove the current insert and replace with a different one the possibilities are endless, you can hang them on a wall, place them on a plate holder or hang them on a tree I am definitely making some for my Christmas Tree. Below are some that I have created.
I Love, love what you do a d everything is easy to follow. I am crafty but. . . I dont read patterns or instructions. I eyeball it. Thank You
I can see that im going to have to get busy with easter these are so cute, I know you go to thrift stores. I don’t know if you go to estate sales in your area. I always keep an eye out. There is a website you can see pics before you go. estatesale.net. I’m in the Ft Worth Texas area and find lots of craft supplies. Just an FYI. Have a great day. Sharon