Easter, Home Decor, Ornaments, Spring
DIY Primitive Hatching Chick
Mar
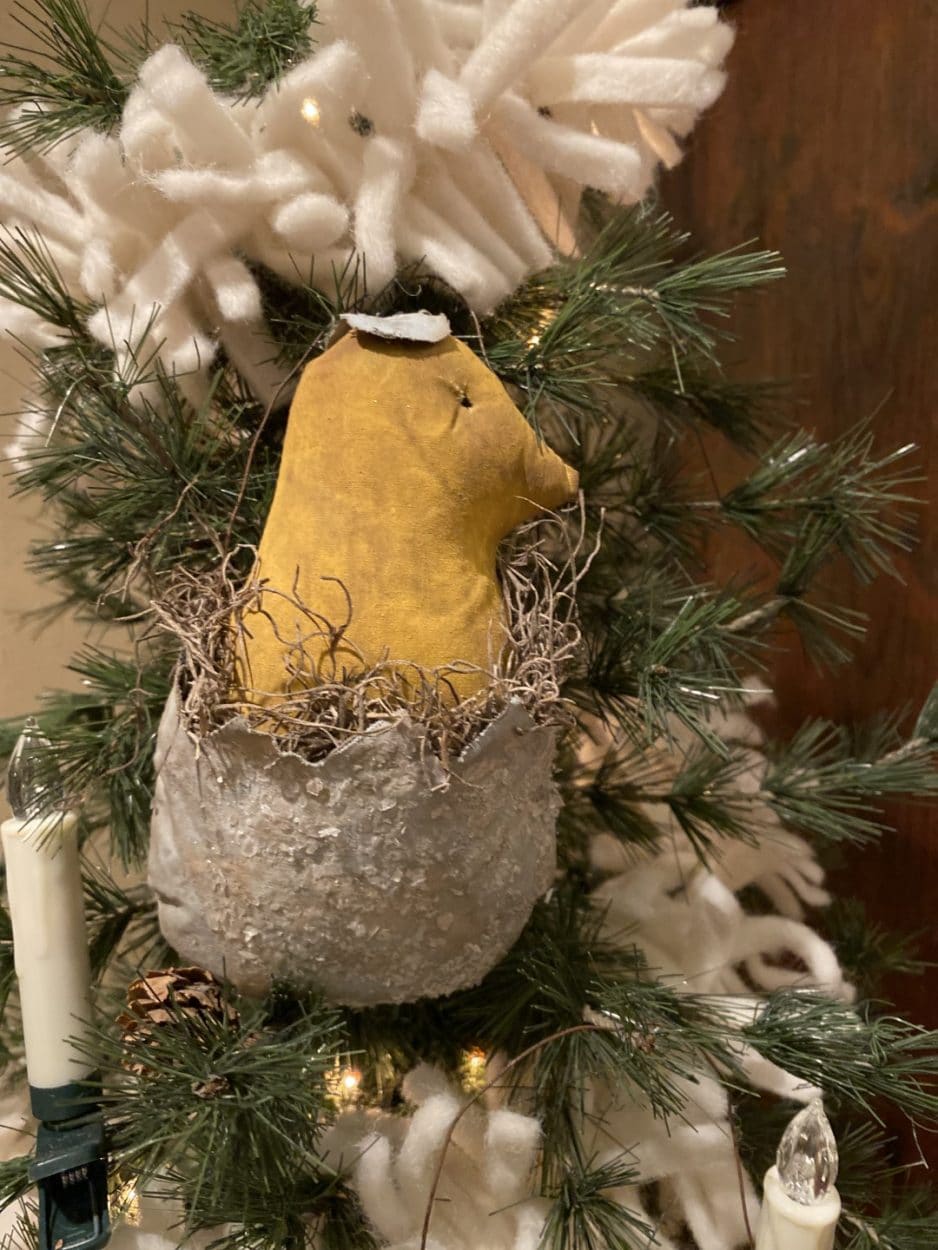
Easter will be here before we know it. I am starting to decorate for Easter so I decided to make a new ornament for my tree, oh yes I leave tree’s up all year long and decorate them for each holiday and season. I seen this little chick when I googled primitive chick and I knew I had to try and make him as soon as I seen him. I think he came out adorable. You don’t have to use him as an ornament you can use him as a bowl filler or to decorate a tiered tray just leave off the hanger. I hope you like him as much as I do and give him a try he is not hard to make at all.
Here is a list of what you will need:
- Primitive Hatching Chick Pattern
- Muslin
- Polyester Fiberfill
- Cream Thread and Needle
- Sewing Machine
- Black Quilters Thread or Embroidery Thread
- Yellow Craft Paint
- Your Choice of Paint Color for the Egg
- Paintbrushes
- Sponge Brush
- Mica Flakes or Glitter
- Craft Glue
- 20 gauge Rusty Wire
- Spanish Moss
- Scissors
- Hot Glue Gun and Glue Sticks
- Pencil
- Rubber Gloves
- Coffee Stain Mixture (See Sherry’s Shortcuts for my Coffee Stain Recipe)
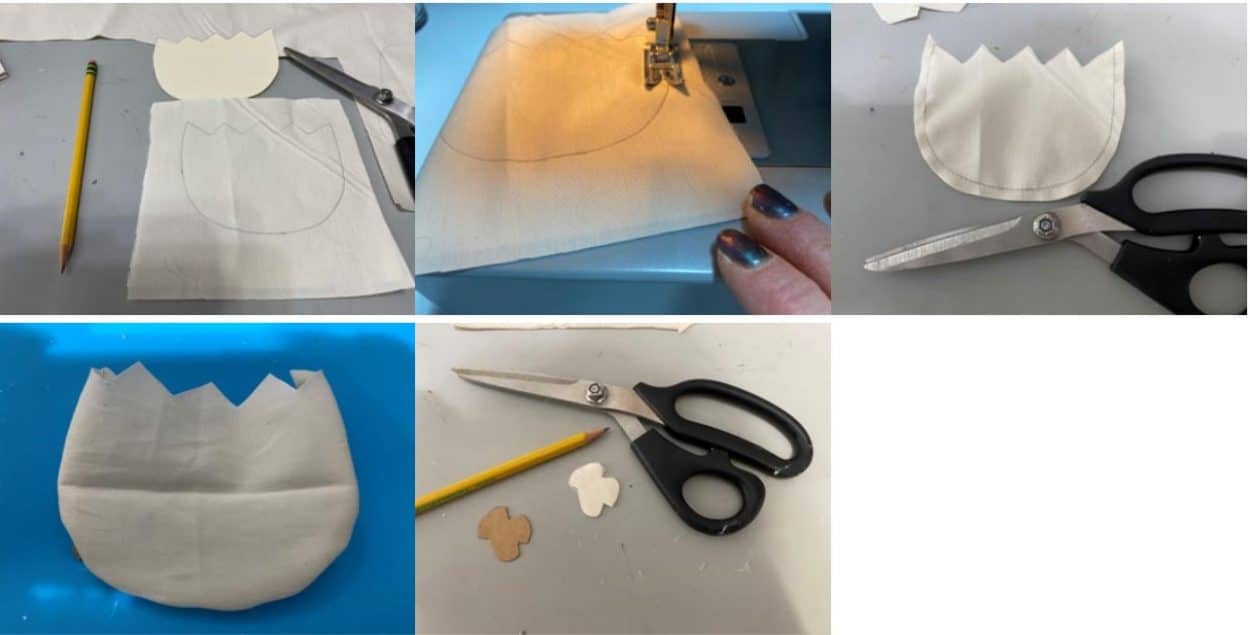
Sewing the Chick and Egg
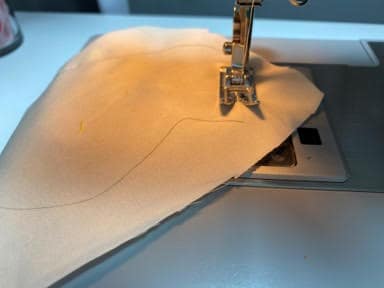
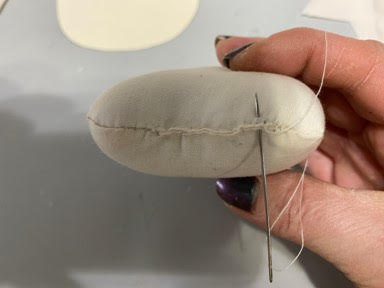
The first thing you will need to do is print and cut out the pattern. Trace the chick on a double layer of muslin. Using the trace line as the sew line sew up the chick leaving the bottom open where indicated on the pattern. Cut out the chick about a ¼” from the sew line. Clip around the curves, this will help the material from puckering when your turn right side out. Turn right side out and stuff firmly with fiberfill. Sew the opening closed with cream thread and needle.
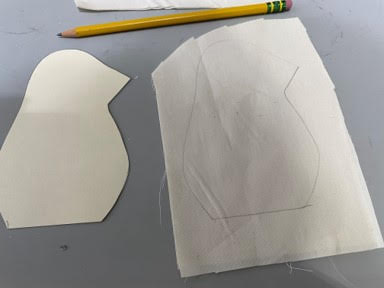

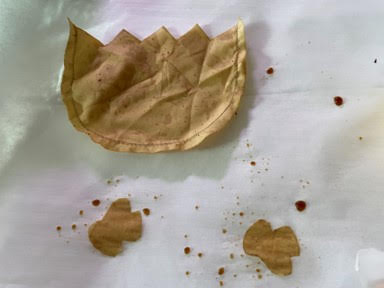
Trace the egg on a double layer of muslin. Using the trace line as the sew line sew the egg leaving the top of the egg open. Cut out the egg about ¼” away from the sew line. Cut out the top of the egg on the trace line. Turn right side out. Cut out one small egg piece from muslin. This will be for the top of the chicks head.
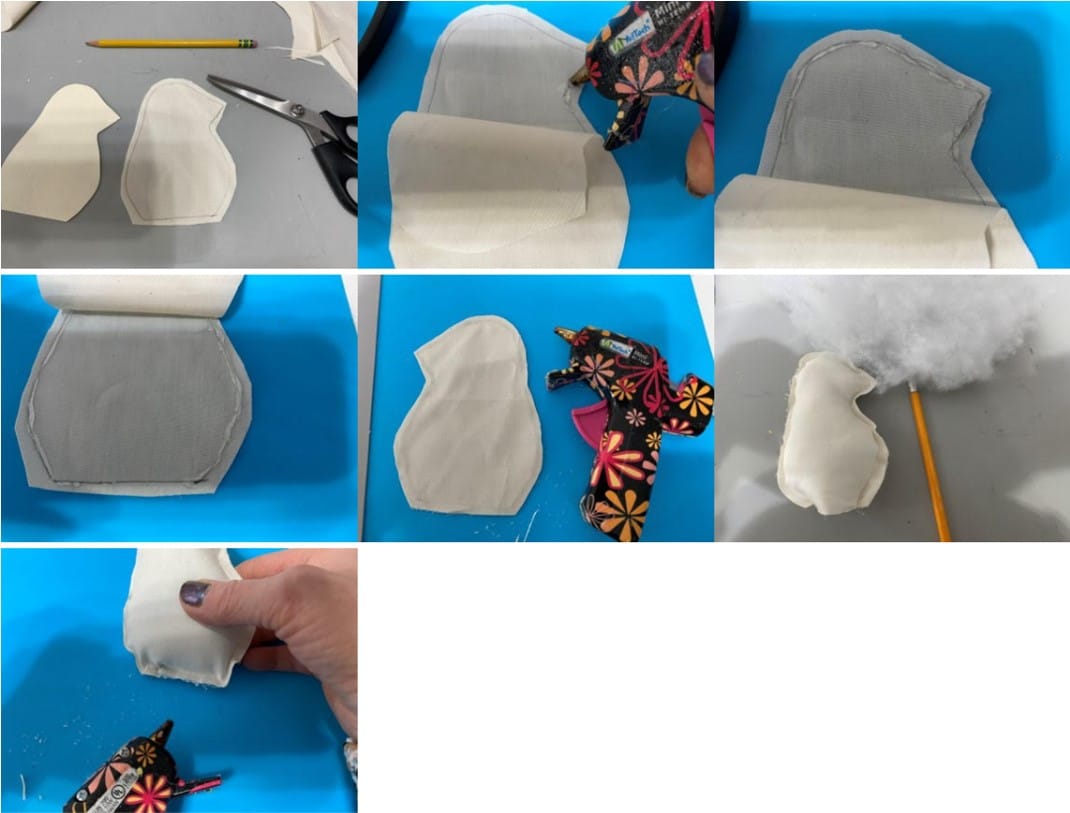
Gluing the Chick and Egg
If you are not a sewer you can hot glue the egg and chick. Trace the chick on a double layer of muslin. Cut out about ¼” from the trace line. Lay down the piece with the trace line then place the second piece on top. Fold back the head section of the chick. On the trace line add a line of hot glue and glue down the top piece of the chick. Fold up the bottom of the top layer add hot glue on the trace line leaving open on the bottom where indicated and glue down. I decided to trim around the chick again I didn’t want so much extra fabric from the glue line. I will let you decide if you want to trim around the chick. Stuff with fiberfill do not stuff to hard or you will open up the seam. Glue the opening closed.
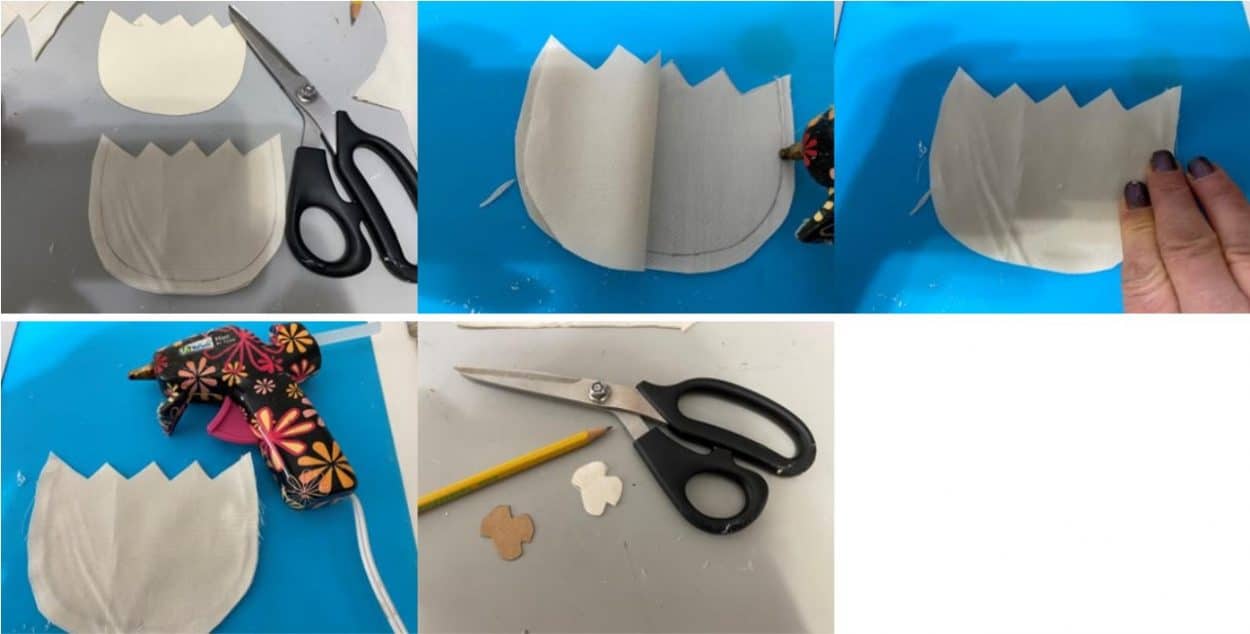
Trace the egg pattern onto a double layer of muslin. Cut out about ¼” from the trace line. Cut the top of the egg out on the trace line. Lay the piece with the trace line down then place the second piece on top. Fold back one side of the egg. You are not going to glue the top of the egg this section is left open. Place a line of hot glue onto the trace line starting at the top side working your wat to the bottom, glue down. Fold back the other side add got glue and glue down. The sides and bottom of the egg should be glued closed. You can trim around the egg if you feel there is to much extra fabric. Cut out one small egg piece from muslin. This is for the top of the chicks head.
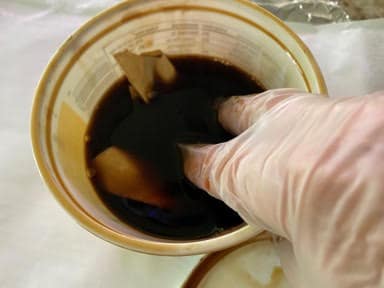
Coffee Staining
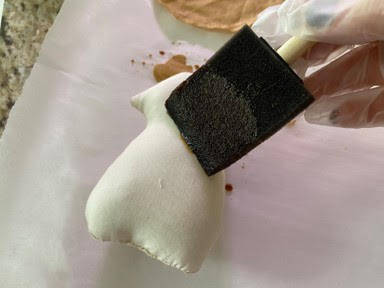
You are going to want to wear rubber gloves for this part so your hands do not get stained. If you need the coffee staining mixture you can find it under Sherry’s Shortcuts. Place the egg and the small egg piece into the coffee stain mixture make. Squeeze out and lay onto a cookie sheet covered with parchment paper. Using a sponge brush cover the entire chick with the coffee stain mixture. Place the chick on the cookie sheet. If you have sewn the egg and chick you can let them dry naturally or you can place them in a 210 degree oven to dry, make sure you check them every five minutes until dry. If you have hot glued the egg and chick you will need to let them dry naturally.
Painting the Egg and Chick
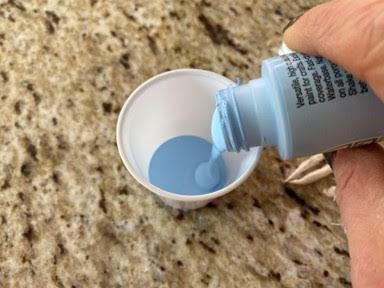
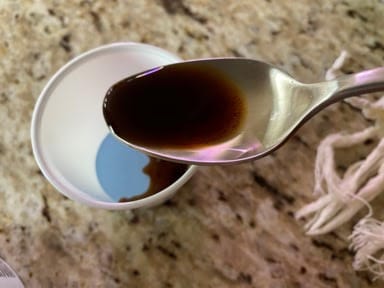
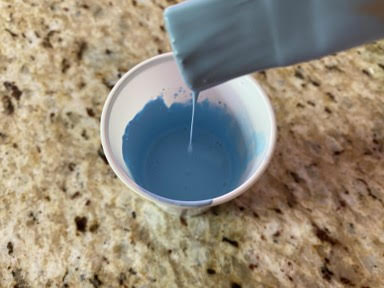
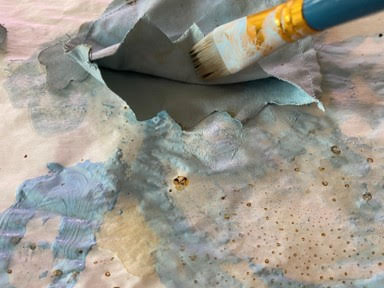
I used a dixie cup to mix my paint and coffee. Pour some of the paint you are using for the egg into your container you are using then add a teaspoon of your coffee mixture and mix. Keep adding a teaspoon of coffee mixture at a time and mixing until you get the consistency of the paint dripping off the paintbrush. Paint the front and back of the egg. Paint the top inside of the egg. Place onto the cookie sheet. Paint front and backof the small egg piece and place on cookie sheet.
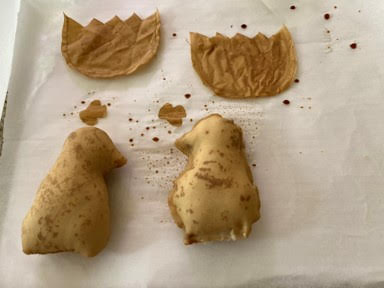
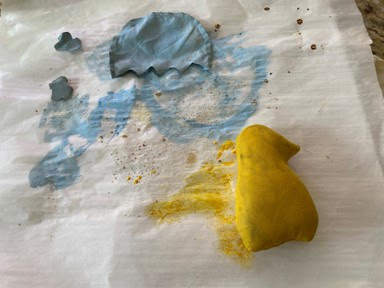
Mix the yellow paint the same way you mixed the paint for the egg. Paint the whole chick and place onto the cookie sheet. If you have sewn the chick and egg you can dry them in a 210 degree oven. Make sure you check them every 5 minutes until dry. If you have hot glued the chick and egg you must let them dry naturally.
Adding the Eyes and Egg Top
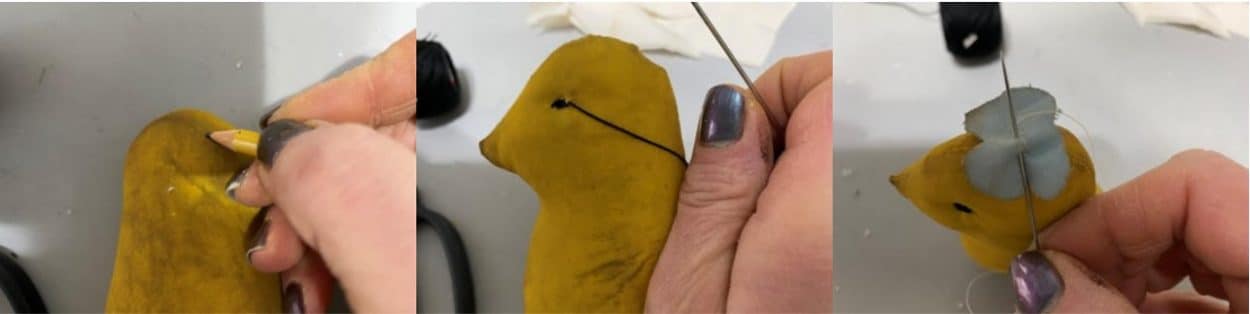
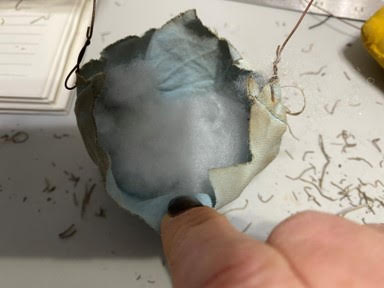
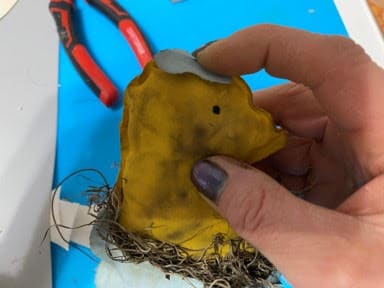
Using a pencil lightly mark where you they eyes are to go. Using black quilters thread or embroidery thread stitch on the eyes. Make stitches going from one eye to the other tie a knot and trim off extra thread. Using cream thread and needle sew on the small egg piece to the top of the chicks head. If you don’t want to sew it you can also hot glue it to the top of the head.
Adding the Wire Hanger
Cut a 12” piece of 20 gauge rust wire. Insert one end of the wire at the top side of the egg where indicated on the pattern and twist together. Insert the other end of the wire into the other side of the egg where indicated on the pattern and twist together.

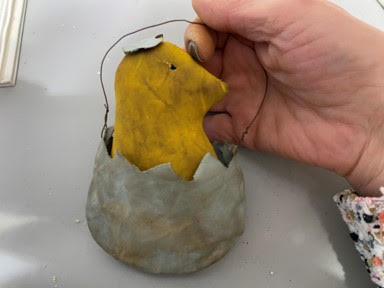
Assembling the Egg and Chick
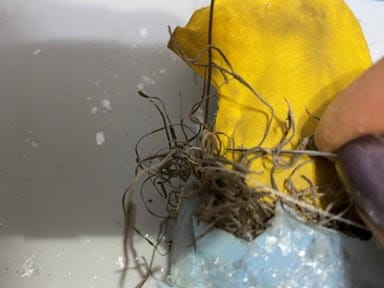
Fill the bottom of the egg with some polyfill. Insert the chick into the egg. Using cream thread and a needle sew one side of the wire to the chick. Repeat to the other side. This will stop the chick from leaning forward. Add Spanish moss inside the egg all around the chick. If you would like to add mica flakes or glitter to the egg using a paintbrush add craft glue here and there on the front of the egg then add the mica flakes or glitter. Repeat this step to the back of the egg.
I hope you enjoyed making this adorable Primitive hatching chick.
Love this little chick in egg, Sherry😍 So cute, I knew if anybody could do it, it would be you! Thanks, have a wonderful day 💓
I love this little chick. It’s very easy but very cute and my grandson should like it for Easter. Thank you Sherry for everything you do.💞
I love the flowers that you made from cupcake baking cups. Love watching you.
They Re very cute and will be darling on the Easter Tree!!
They are very cute and will be darling on the Easter Tree!!
Love the primitive look these chicks have!
These are really cute and you gave good directions… Thanks….