Christmas, Home Decor, Ornaments, Winter
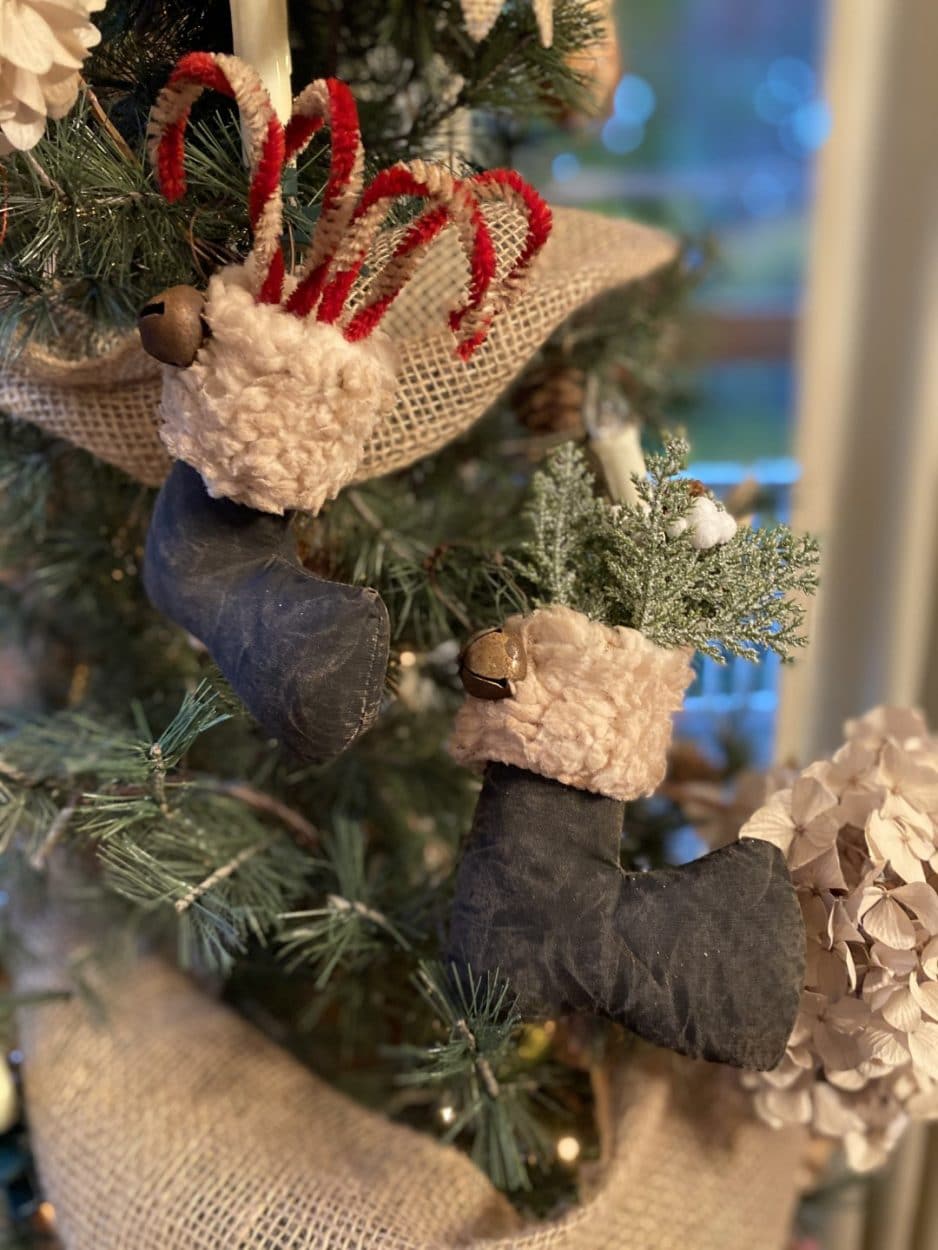
DIY Santa Boot Ornament
Oct
Christmas is my favorite Holiday, don’t you just love decorating for the Christmas season there are just so many different ways to you can decorate and one of my favorite things to decorate is my tree.I have been making Christmas ornaments for years so now I have enough homemade ornaments to decorate my whole tree, it is so special to have ornaments that you can’t find in every store so I thought I would share with you how I made these adorable Santa Boot ornaments.
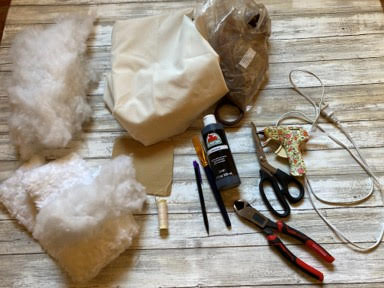
Here is a list of what you will need:
- Santa Boot Pattern
- Muslin Fabric
- Boot Trim Of Your Choice
- Polyester Fiberfil
- Sewing Machine
- Cream Thread and Needle
- Black Craft Paint
- Paint Brush
- Foam Brush
- 150 Fine Grit Sandpaper
- Pencil
- Scissors
- Thin Wire (22 gauge)
- Rust Bell
- Wire Cutters
- Hot Glue Gun and Surbonder Fabric Glue Sticks
- Decorative Filler of Your Choice
- Coffee Stain Mixture (See my blog on how to color and coffee stain fabric for recipe)
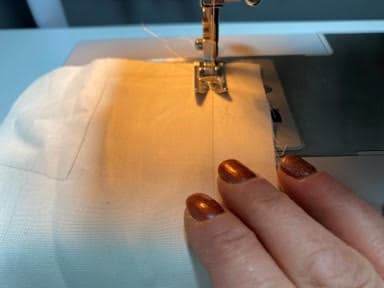
Print the Pattern
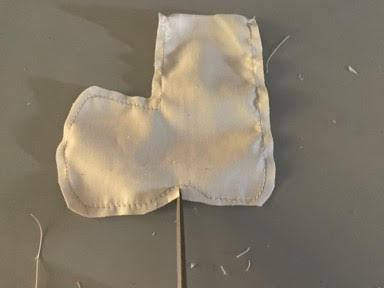
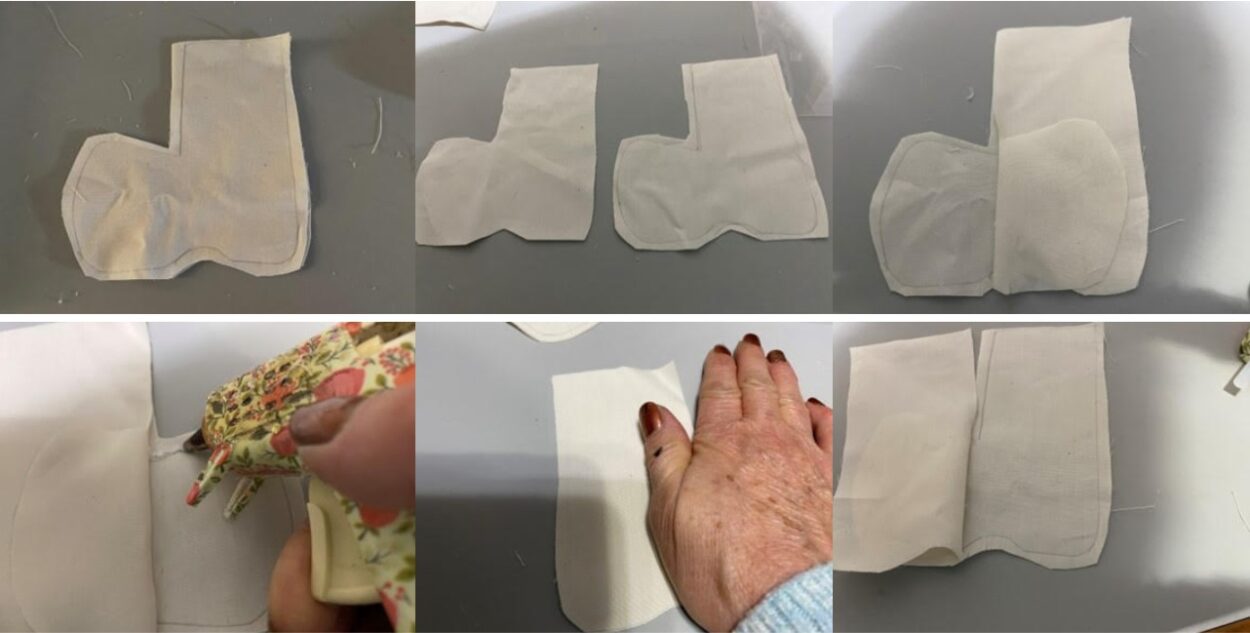
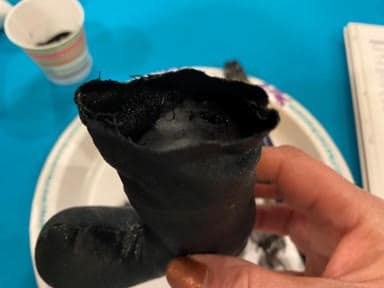
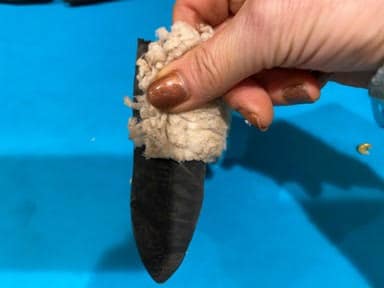
The first thing you need to do is print and cut out the Santa boot pattern next trace onto a double layer or muslin then cut out leaving at least a ¼” around the trace line. The trace line is going to be your sew line. Once you have traced and cut out your Santa boot using your machine sew the boot on the trace line leaving the top of the boot open.

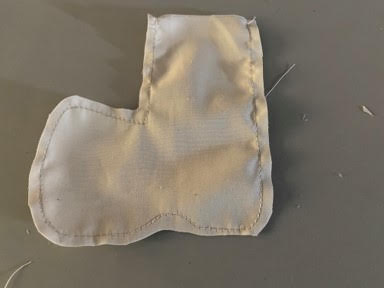
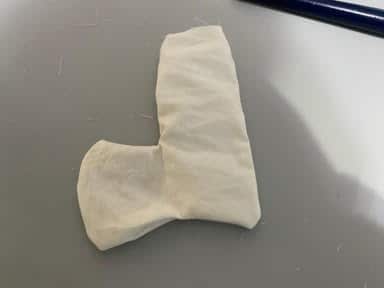
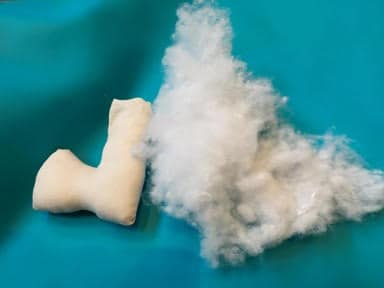
Once you have the boot sewn using your scissors clip around the all the curves of the boot be careful not to cut your stitches this will prevent any puckering, next turn right side out and stuff with fiberfill leaving about a 1” unstuffed at the top.
Gluing the Santa Boot
If you would rather hot glue the boot then sew separate your two boot pieces then lay the piece without the trace line on top of the piece with the trace line next fold back the top piece at the toe of the boot then using your hot glue gun and surbonder fabric hot glue stick add a line of hot glue on the trace line and glue your two pieces together continue gluing around the boot leaving the top of the boot open for turning and stuffing. Once your boot is glued together clip, turn and stuff, follow the instructions above..
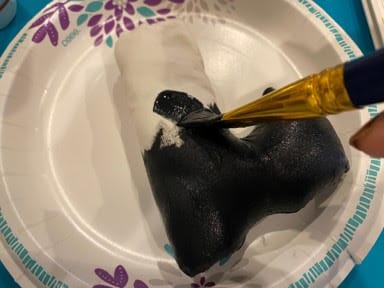
Painting and Staining
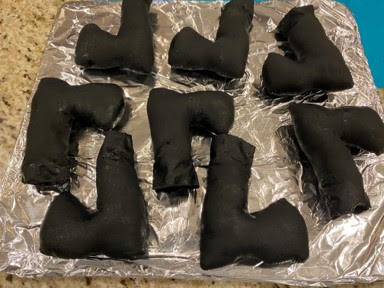
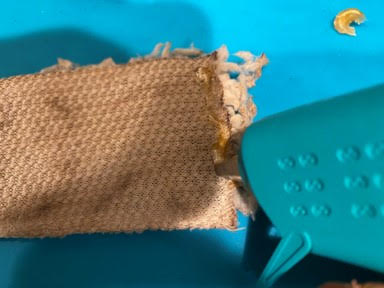
Now that you have the boot stuffed paint the boot using black craft paint, you will also need to paint the 1” of the boot on the inside that you have left unstuffed. Once you have painted the boot let dry, you can the put out in the sun or place the boot on a foil lined cookie sheet and put in a 230 degree oven making sure to check and turn every 10 minutes until dry. If you have glued the boot you can not put it in the oven to dry you will need to let dry naturally.
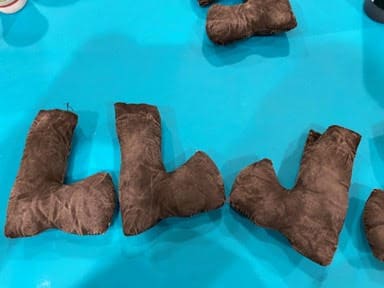
Once your boot has dried take a piece of 150 grit sandpaper and lightly sand the boot giving it a worn look, next using a sponge brush or paint brush coat the boot with the coffee stain mixture and dry according the directions as you did with painting.

Adding the Boot Trim
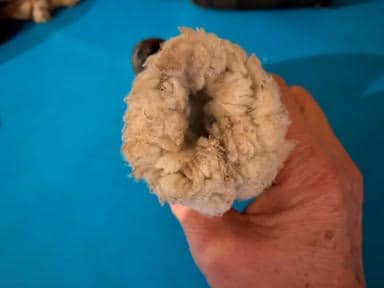
Cut a 5” long by 2” wide piece of your boot trim, I used a Sherpa ribbon that I had on hand I also decided to coffee stain my trim to give it a old look to match the boot, if you would like to coffee stain your trim dip it into the coffee mixture ring out and dry as you did the boot. To attach the trim add a line of hot glue down one end of your trim and glue at the back seam of the boot, the top of your trim should be even with the top of the boot next rape your trim around the boot and add a line of hot glue to the other end of your trim and glue right next to the first end.
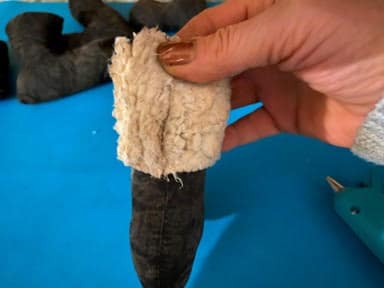
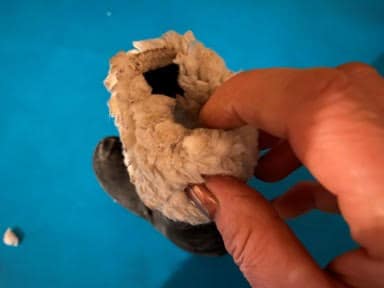
Once you have attached your trim tuck the top 1” of the boot down into the boot.
Adding the Hanger
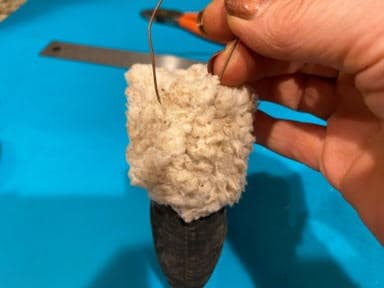
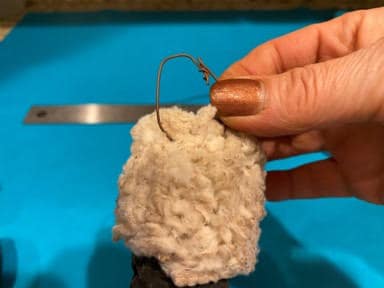
To add the hanger cut a piece of thin wire and insert through the trim at the back of the boot, twist the ends together then bend them down.
Sew a bell onto the front of trim of the stocking and finish with the filler of your choice. If you would like to make the candy canes see the directions below.
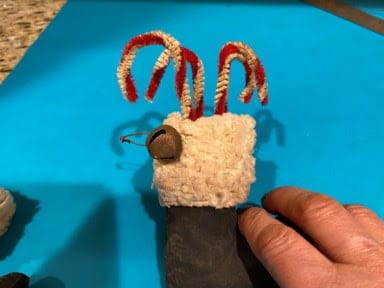
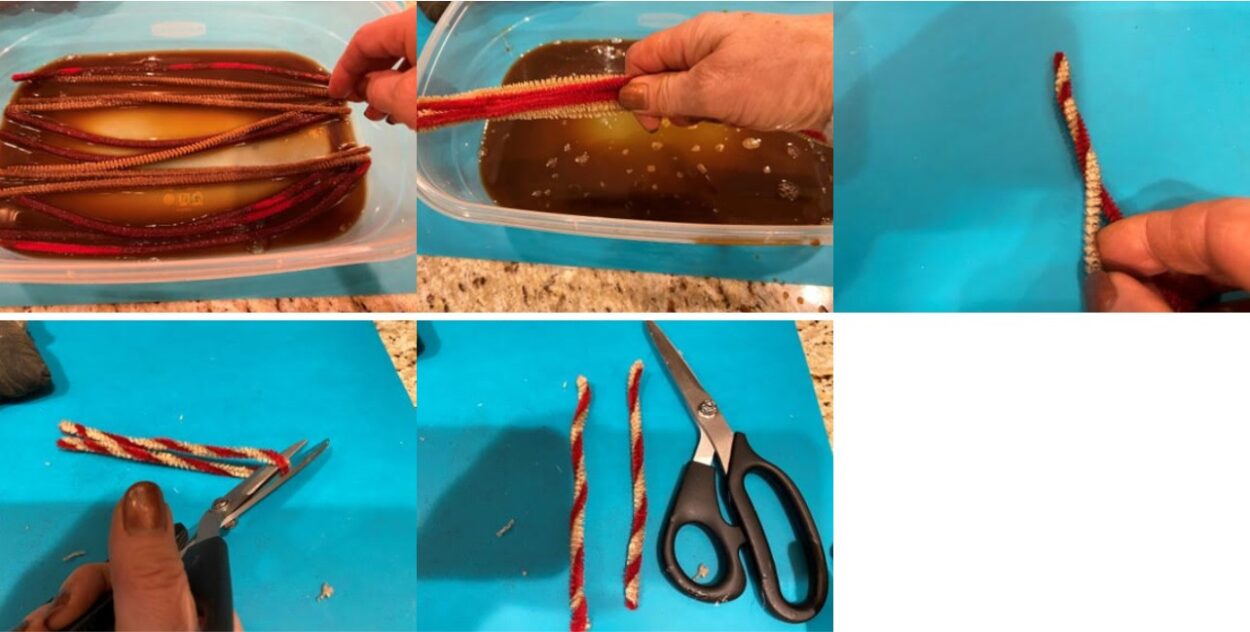
Making the Candy Canes
To make the candy canes take red and white chenille pipe cleaners dip them into the coffee stain mixture then pull through your fingers to remove excess coffee and let dry. I like to dry mine in the oven it seems to give them an older look then allowing them to dry on their own. Once the pipe cleaners have dried take one red and one white and twist them together then bend in half and cut next take each piece and form into a candy cane.
Thank you for checking out my Santa Boot blog and I hope you give making them a try.
Love your crafts
So cute!
Those boots are so cute.
Love this ornament and all that you do. What does this boot measure finished?Thanks
I love the boot. Going to get some made. Thank you. Your just so pleasant to watch. You seem so sweet and humble.
I just love the little boots, adorable.
Love it!